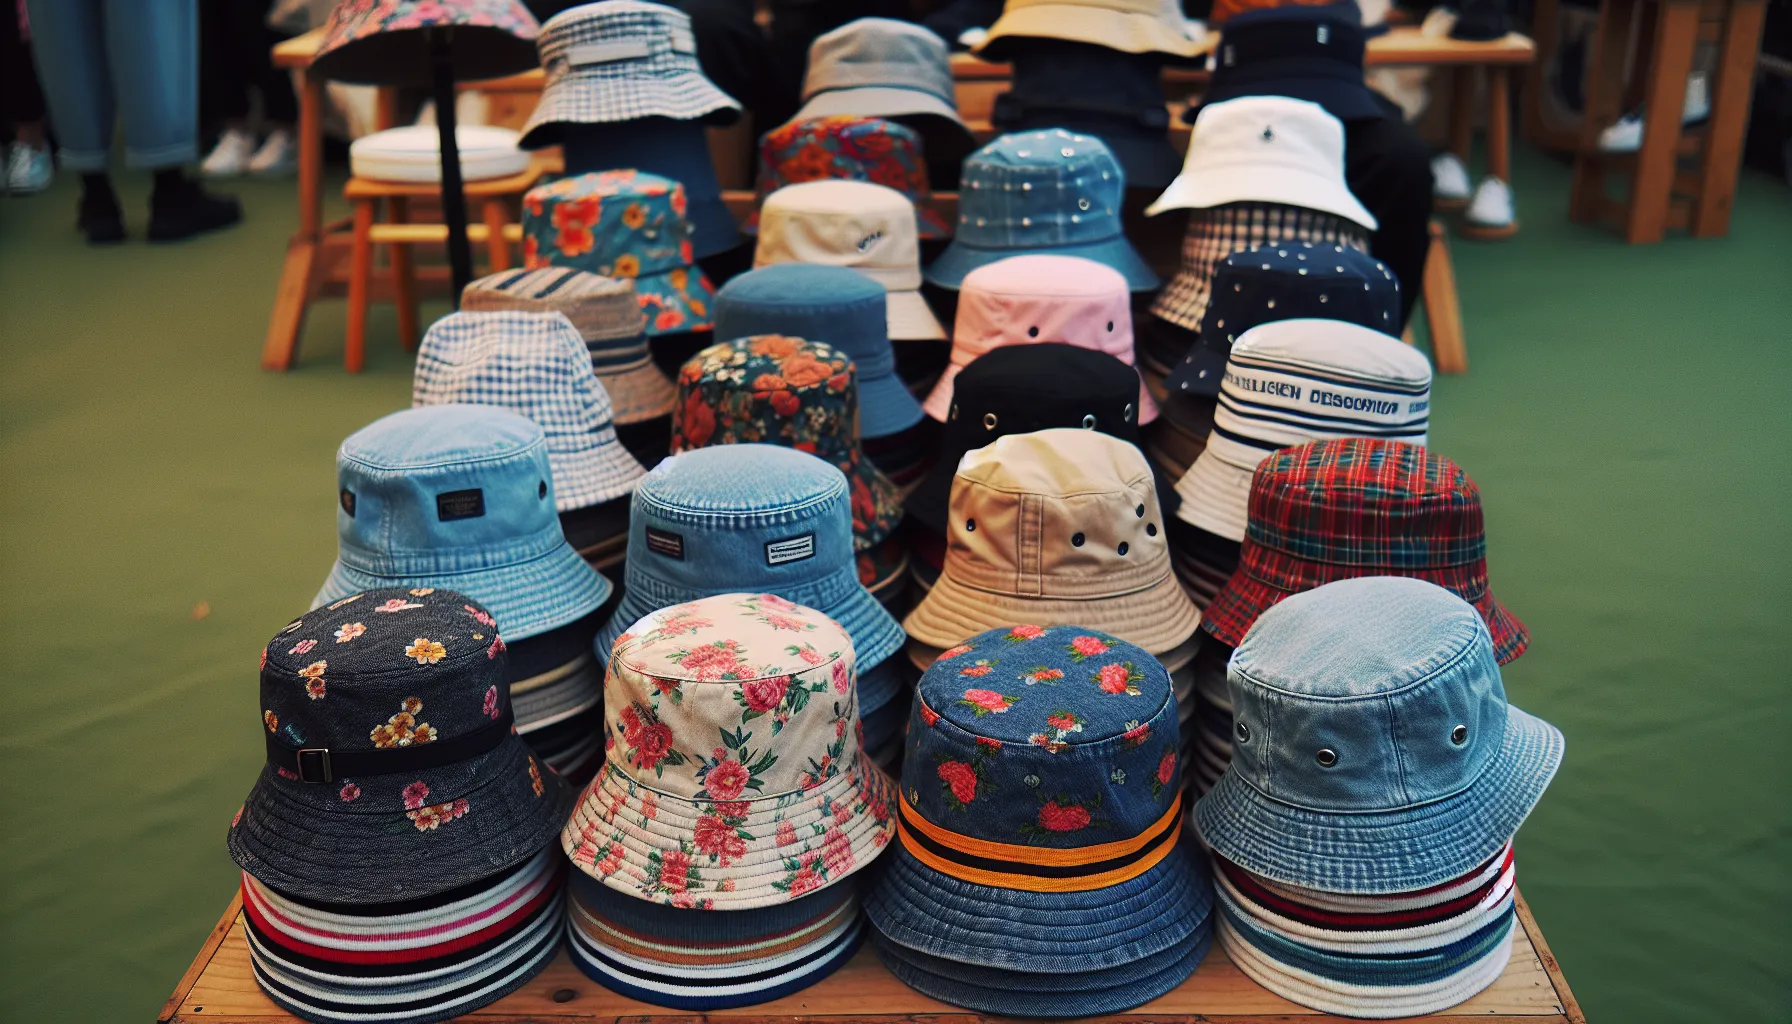
Bucket Hats: Discover the Latest Trendy Designs
Bucket Hats: Discover the Latest Trendy Designs Bucket hats have become increasingly popular in recent years as a trendy accessory. These stylish hats are not
My dream job was to be a summer camp counselor
Being a summer camp counselor was the only thing I wanted to be when I grew up. I wanted to sleep in a cabin, go kayaking or canoeing, and play large camp-wide games. Build campfires, sing silly songs, and do arts and crafts every day. The number of string bracelets or lanyards, god’s eyes, dream catchers, and tie-dye items I have made over the years is astounding.
Unfortunately, I was never able to be a summer camp counselor. But I was able to volunteer at the camp I went to as a kid a few times over the last few years. It kind of filled the void but not being able to go this year has left a hole in my camp loving heart.
We wanted to get outside for a little this summer so my brother, best friend, and I escaped to Vermont for a vacation. We went to a lake house for a few days in August. We were able to unwind, relax, and do lots of classic summer camp activities!
One thing we made sure to do was tie-dye.
 —")
Before we left for our trip I made sure to go shop for all the supplies that needed. I went on a mini shopping spree at JoAnn Fabrics and got a bunch of different items to use. We wanted to know what would work the best with the dyes that we were using. We also wanted a variety of items to use. *Note to self – do not let me loose in craft stores.*
Some plastic bags to hold our wet items and to use as a tarp, so we did not make a mess on the dock.
The first thing Bella and I did was soak the items we choose to use in water. We did not use soda ash to soak our shirts as some kits require. Tulip’s dye has soda ash incorporated into their dye mix already. It was really hot outside, so I let everything sit in a bucket when we were not using them. That way they would not dry out before we had a chance to use them. When it came time to use the items we would ring out the extra water so the items were damp but not soaked.
We chose to use a lot of blues, purples, and a few orange-y/peach/coral colors. We had many others to choose from, but we did not want to use all of our colors at one time. The extra-large party kit that we had comes with 18 colors to choose from and makes over 36 different projects.
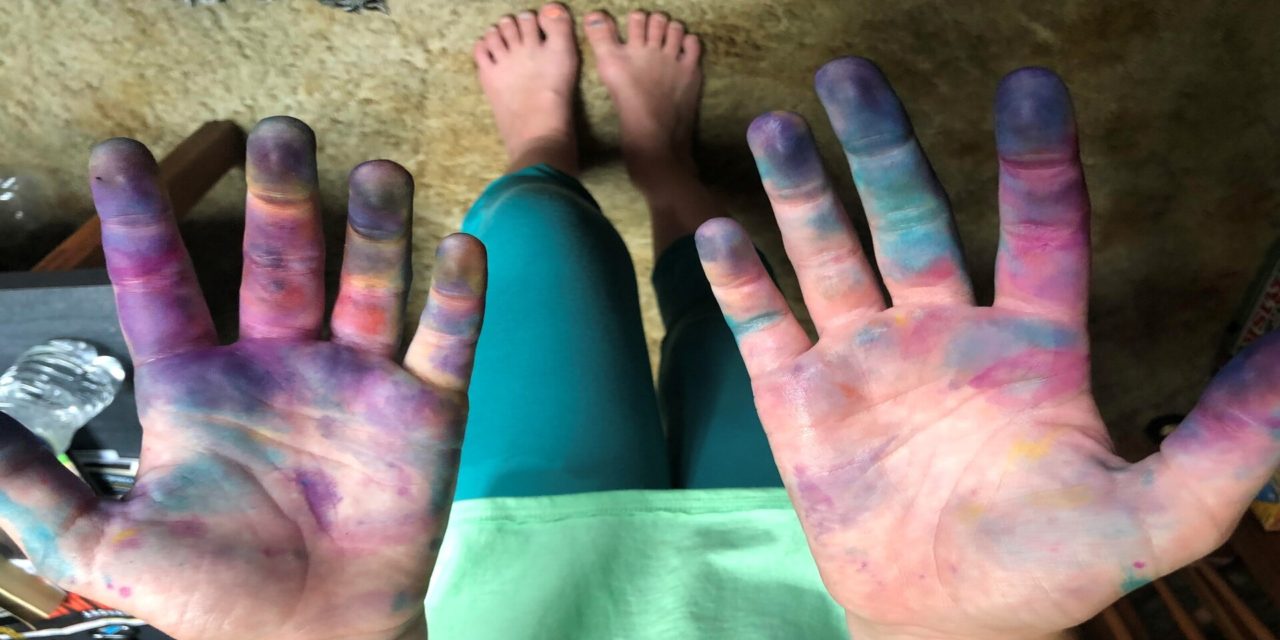
Then we filled the bottles with water and shook them up to ‘activate’ the die. This was a little messy but we figured it out! Bella had a great time doing this. I should have made her put gloves on though because it can get a little messy.
My personal favorite is the classic spiral but there are so many different styles out there. We tried some sunburst, stripes, swirls, splatter, and crumple techniques. There are so many tie-dye patterns out there, Tulip has a ton of ideas listed on their website that you can try.
We tried to get our patterns twisted and folded on the plastic trash bags that we laid out. This was actually really hard to do that. We ended up having to do everything directly on the deck and then move them onto the plastic.
 —")
Now the fun begins! Give your bottles another shake to make sure that the dye is all mixed up. Then take the lid off and go to town. Take a section and a color and fully saturate the fabric with the dye. Make sure that you really get into the fabric and folds of the material. As Bella says ‘Make sure you get into all the nooks and crannies’.
Remember there is no wrong way to tie-dye your fabrics! Go with what you feel and what makes you happy.
We actually used a little too much dye on our shirts and bandannas. They were SATURATED with dye, which is kind of what we wanted to happen.
Once, we finished dying the shirts we just put them into the plastic bags that we had on hand. Putting them into the bag makes it easier for them to “marinate” and rest before we rinse them out. I had Bella tie the bags shut with the shirts in them.
You want to make sure that you let your items sit. The longer the better. We let them sit for about 30 hours before we were able to wash them out. The longer the dye is able to soak into the material the brighter and more colorful the project is going to look.
Usually, I will use a hose and have someone hold the project I am rinsing out. Because it was late at night, and we just got home from a big trip I used my kitchen sink to rinse everything out. We ran everything under on a cold and just rinse it until the water ran clear.
I had to go through and re-rinse a bunch of items to make sure all the dye was out. This can be time-consuming but it has to be done before we can wash the shirts.
The last step is to wash them! I like to throw the tie-dyed items into the washing machines with a little bit of detergent and wash them in hot water. The number one tip is to wash these alone or with other tie-dyed items! Do not wash tie-dyed items with other clothing items unless you want them tie-dyed or stained. To dry, I just left mine to air dry instead of putting them into the dryer. It was just a choice I made at the time. You can do whatever makes you happy.
 —")
We love our tie-dyed items! I know that I wear the shirts that we made all the time. My grandma turned the bandannas into face masks for us to wear out and about. (Check back soon for a post on that) This was such a fun activity to do outside. It was easy, involved minimal cleanup, and was an easy way to bring some fun and color to a weird summer. I can’t wait to try different styles and skills on other products this year. Bella saw someone on TikTok tie-dye a hat and now we need to try that!
Tie-dye is 100% back and hopefully, it is not going anywhere. I just picked up some sweatshirts to either make some more cute designs or even a reverse tie-dye using black or dark-colored shirts and bleach. Now if you are not looking to make your own check out any store this fall. They are bound to have some tie-dyed clothes! Forever 21, Urban Outfitters, and Old Navy are just a few of the places that are carrying products for everyone.
If you try this let us know how it went! We would love to hear about your experience. I have to say, doing tie dye with a kid was so much more fun than doing it alone. Bella allowed me to be silly and did not really care which colors were used or if it was perfect. We laughed a lot and had a great time and I can not wait to do some more items!
Bucket Hats: Discover the Latest Trendy Designs Bucket hats have become increasingly popular in recent years as a trendy accessory. These stylish hats are not
The ultimate guide to rocking the trendy bucket hat styles. Elevate your fashion game with versatile and stylish bucket hats. Click here for fashion inspiration and tips!
Discover the best places to buy bandanas and find your unique bandana style. Explore the wide range of designs and styles available at Wholesaleforeveryone.com and get free shipping on orders over $35
Discover how to create a stylish and versatile wardrobe with tops. Elevate your outfits and transform your style with the right tops. Click here to learn more.
Discover expert tips for caring and maintaining your tops to build a versatile wardrobe. Extend their lifespan, retain shape and color, and save money with proper care. Click now for a wardrobe that truly represents you
Fashion events for tops, including t-shirts, shirts, hoodies, and jackets, showcase the latest trends and styles. Stay updated with industry developments and explore Wholesaleforeveryone.com’s collection for quality